
NZ fishing rigs and knots: diagrams and when to use each
Three rigs cover most New Zealand saltwater fishing. A ledger (paternoster) rig holds baits near the bottom for gurnard, tarakihi and snapper. A running sinker rig lets a fish take the bait without feeling the weight. A strayline drifts a lightly weighted bait down a berley trail. Tie them with a uni knot, a snell and a uni-to-uni join.
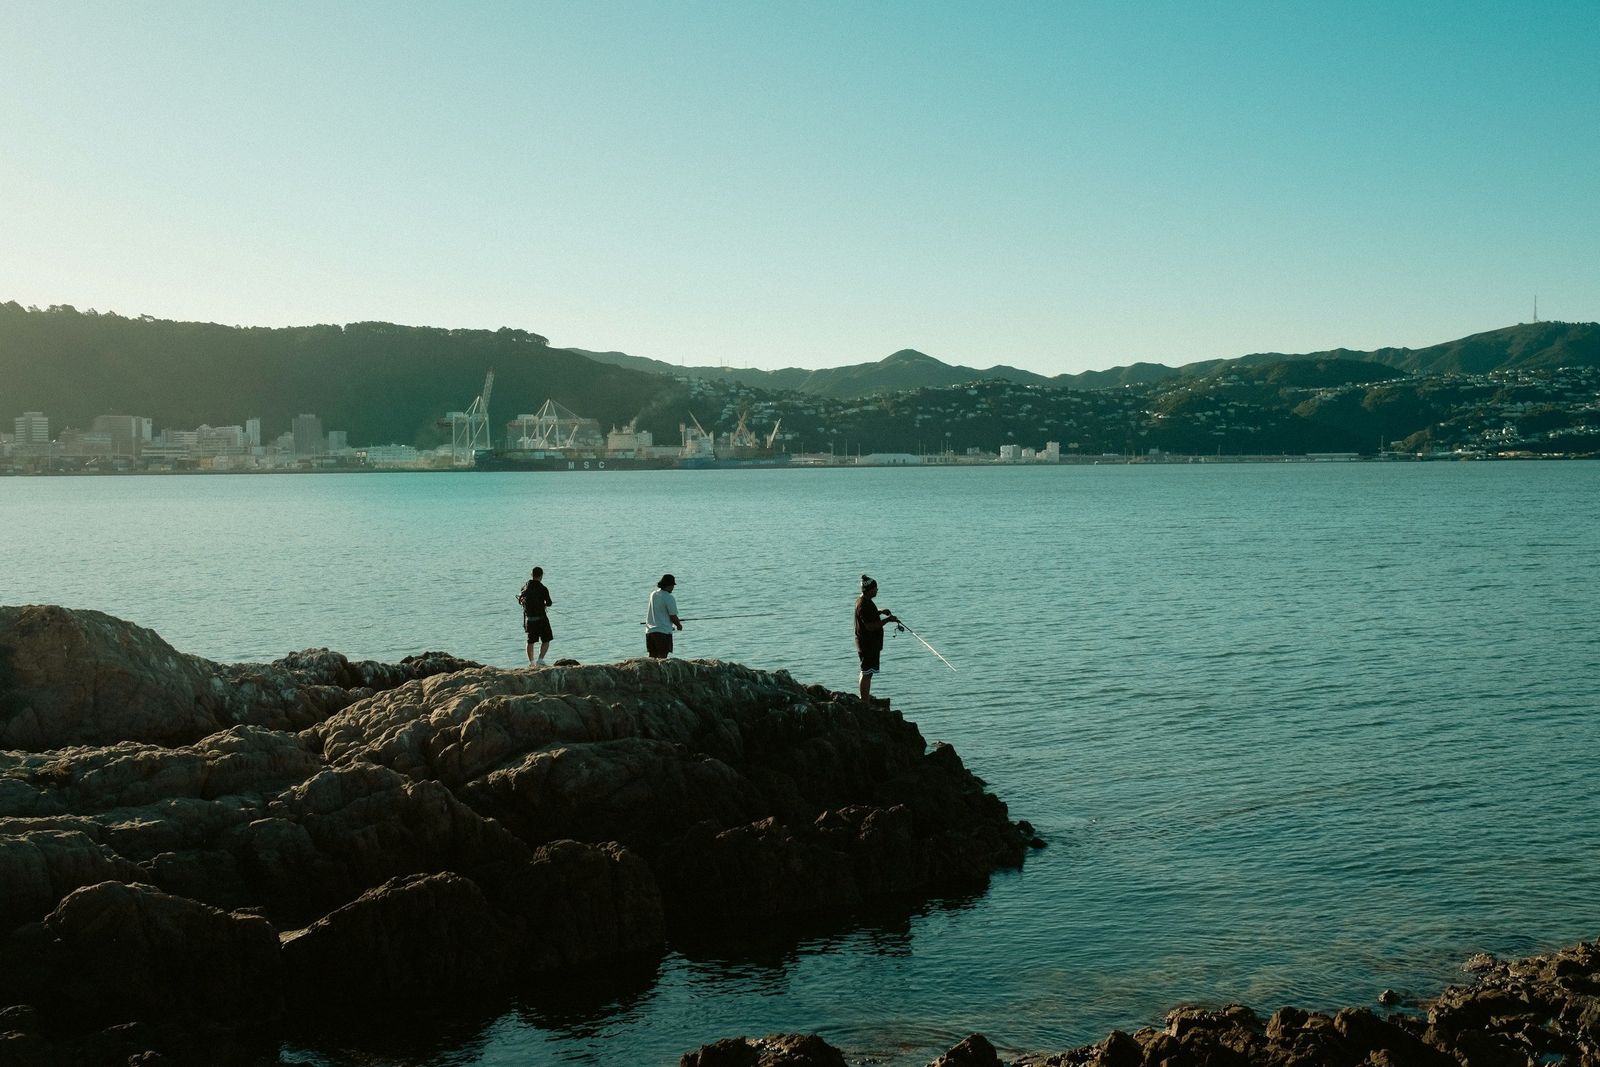
Most anglers know where they’re going and what they want to catch. Getting the right rig on the end of the line is the bit that trips people up. This page covers the main rigs used in New Zealand, what each is for, how to tie them, and the knots that hold them together.
Hook sizes are given as typical ranges. Match the hook to the bait and the size of fish you expect, not just the species.
Before you fish, check the fishing rules for your area. There are national and area rules on the gear you can use, including how many hooks you can have on a line.
Which rig should I use?
| Situation | Rig | Target species |
|---|---|---|
| Bottom fishing from a boat over sand or foul | Ledger or paternoster | Gurnard, tarakihi, snapper, blue cod |
| Shore, wharf or rocks with some current | Running sinker | Snapper, trevally, kahawai |
| Shallow water with berley, light current | Strayline | Snapper, trevally |
| Deeper ground from a boat, drifting or anchored | Dropper or flasher | Snapper, tarakihi, gurnard, hāpuku |
| Beach fishing into surf | Surfcasting | Snapper, kahawai, gurnard, rig |
| Reefs, points and wharves with live fish for bait | Live bait | Kingfish, John Dory |
| Setting a line from the beach with a drone or kontiki | Drone and longline | Snapper, gurnard |
Ledger or paternoster rig
The ledger (or paternoster) rig is the workhorse of NZ bottom fishing. The sinker sits at the bottom of the trace and one or more hooks hang off short droppers above it. The sinker holds the seabed and the baits sit just above it, where most bottom fish feed.
What it’s for: fishing on or near the bottom from a boat, wharf or beach, especially over sand and mud where you don’t need to drift a bait. It suits gurnard, tarakihi, snapper and blue cod. Pre-made ledger rigs are sold everywhere, but they’re easy to tie.
Parts list:
- A swivel to join the trace to the mainline
- 1 to 1.5 m of mono or fluorocarbon trace, heavier than your mainline
- Two hooks: recurve or circle hooks, about 3/0 to 5/0 for gurnard and tarakihi, 5/0 to 6/0 for snapper
- A sinker heavy enough to hold the bottom in the current
- Optional: beads, lumo tubing or small flashers above the hooks
How to tie it:
- Tie a swivel to the top of the trace with a uni knot or palomar.
- About 20 cm below the swivel, tie a dropper loop.
- Tie a second dropper loop about 40 cm below the first, so the hooks can’t tangle.
- Tie a loop at the bottom of the trace for the sinker, or tie a snap swivel to the end.
- Snell a hook onto a short length of trace (about 15 to 20 cm) for each dropper, with a loop at the other end.
- Attach each hook leader to a dropper loop with a loop-to-loop join.
- Clip or loop on the sinker.
Common mistakes:
- Droppers too long or too close together, so the hooks tangle with each other or the main trace.
- A sinker that’s too light, so the rig drags across the bottom.
- Big baits on small hooks. Thread bait on so the hook point is clear.
Running sinker rig
On a running sinker rig, the sinker slides freely on the mainline above a swivel. When a fish picks up the bait, the line runs through the sinker so the fish doesn’t feel the weight and is less likely to drop the bait.
What it’s for: fishing a single bait on or near the bottom from the shore, wharves, rocks or an anchored boat, where you want the fish to run with the bait. A standard snapper rig, and good for trevally and kahawai.
Parts list:
- A ball or bean sinker, as light as will hold the bottom
- A plastic or glass bead to protect the knot
- A swivel
- 0.5 to 1.5 m of trace
- One or two hooks: recurve or circle, about 4/0 to 6/0 for snapper (5/0 is the size NZ anglers mention most), smaller for trevally
How to tie it:
- Thread the sinker onto the mainline.
- Thread on a bead.
- Tie the mainline to a swivel with a uni knot or palomar. The bead sits between sinker and knot.
- Tie a length of trace to the other end of the swivel.
- Snell or uni-knot a hook to the end of the trace. For a two-hook version, snell a second hook above the first so both sit in the bait.
Common mistakes:
- Too heavy a sinker. It defeats the point and snags more.
- A trace that’s too short, so the bait sits right on the sinker.
- Striking hard with circle hooks. Let the fish load the rod and wind steadily.
Strayline rig
A strayline is the simplest rig there is: a bait on a hook with little or no weight, drifting down naturally in a berley trail. Fish see a bait that falls and moves like loose food.
What it’s for: shallow water, light current and a berley trail, from a boat at anchor or from the rocks. It’s the classic way to target snapper in the shallows, and it catches trevally and kahawai in the trail too. In the angler discussions summarised on our snapper page, a simple strayline with little or no sinker comes up again and again for shore snapper.
Parts list:
- A swivel (optional; you can tie the trace straight to the mainline)
- 1.5 to 3 m of trace
- One or two hooks: recurve or circle, about 5/0 to 7/0 for snapper. Many anglers fish a single circle hook with no sinker at all.
- Optional: a small ball sinker that runs down the trace to sit on the hook, for a bit more weight in current
How to tie it:
- Tie the mainline to a swivel, or join it straight to the trace with a uni-to-uni knot.
- Tie a long trace to the swivel.
- Snell two hooks to the end of the trace, about a bait-length apart, so both sit in a whole pilchard or a large strip bait.
- If you need weight, thread a small ball sinker onto the trace before you tie the hooks on. It slides down and sits on the top hook.
- Leave the reel in free spool or the bail arm open, and let the bait drift down the berley trail, feeding line as it sinks.
Common mistakes:
- Too much weight. The bait should sink slowly and drift with the berley.
- Letting slack build up. Keep in touch with the bait so you feel the bite and avoid gut-hooking.
- No berley. A strayline works best when fish are already feeding in a trail.
Dropper and flasher rigs
A dropper rig is a ledger rig with more hooks, used for fishing deeper water from a boat. Flasher rigs are dropper rigs where each hook is dressed with brightly coloured flasher material, lumo beads or tubing, which attract fish to the bait.
What it’s for: drifting or anchoring over deeper reef, foul and sand edges. Flasher rigs are popular for snapper, tarakihi and gurnard. Heavy versions with big hooks and a breakaway sinker are used for hāpuku and bluenose on deep reefs.
Parts list:
- A pre-made flasher rig, or a trace with dropper loops as for the ledger rig
- Hooks sized for the target: about 1/0 to 3/0 for tarakihi, 3/0 to 5/0 for gurnard and snapper
- A sinker heavy enough to get down and hold in the drift
- For deep reef: a lighter “rotten bottom” link to the sinker so it breaks off if snagged
How to tie it:
- Tie a swivel to the top of the trace.
- Tie three dropper loops down the trace, about 30 cm apart.
- Snell a hook to a short leader for each dropper, and dress the hook with flasher material or a lumo bead if you like.
- Attach each hook to its dropper with a loop-to-loop join.
- Tie the sinker on at the bottom. In snaggy ground, tie it on with a short length of lighter line.
- Bait each hook with a small strip of bait so the flasher still shows.
Check how many hooks you can use on a line before you rig up (see the rules).
Common mistakes:
- Baits too big, which hide the flashers and get stripped without hooking up.
- Tangles from droppers that are too long.
- Fishing a multi-hook rig without checking the hook rules.
Surfcasting rigs
Surfcasting from the beach mostly uses a heavier version of the ledger rig. A grapnel sinker (one with wire arms) grips the sand so the surf doesn’t wash the rig back onto the beach.
What it’s for: beach fishing for snapper, kahawai, gurnard, trevally and rig.
Parts list:
- A shock leader of heavier mono to take the force of the cast: about 30 to 60 lb on a 15 to 25 lb mainline. Make it long enough to reach from the sinker, through the rod guides and several turns onto the reel when you cast.
- A two-hook ledger trace, heavier than you’d use from a boat
- Hooks: recurve or circle, about 4/0 to 6/0
- A grapnel sinker, heavy enough to hold in the surf and current
- Optional: bait clips, which hold the hooks against the trace during the cast so baits stay on and fly cleanly
How to tie it:
- Join the shock leader to the mainline with a uni-to-uni or other line-joining knot.
- Tie a swivel to the end of the shock leader.
- Tie a two-hook ledger trace as above, with dropper loops well spaced.
- If using bait clips, fix one on the trace below each dropper.
- Snell the hooks onto short leaders and attach them to the droppers.
- Tie or clip on the grapnel sinker.
- Bait up, clip the hooks into the bait clips and cast.
Common mistakes:
- A sinker too light for the conditions, so the rig rolls back in.
- Soft baits that fly off during the cast. Tie them on with bait elastic.
- Casting without a shock leader.
For gear, bait and how to find the fish on a beach, see our surfcasting guide.
Live bait rig
A live bait rig presents a small live fish as naturally as possible. It’s the most reliable way to catch kingfish, and the usual way to target John Dory.
What it’s for: reefs, pinnacles, points and wharf piles where predators hunt. Common live baits are jack mackerel, kahawai, kōheru, piper and small mullet.
Parts list:
- A heavy leader for kingfish, which run straight for the reef: about 60 lb from the shore, and up to 100 to 150 lb from a boat over rough ground
- One strong hook (circle or J) sized to the bait: about 8/0 to 10/0 for kingfish. For John Dory, use a smaller hook and a smaller bait; a big hook kills a small live bait quickly
- Optional: a balloon float to keep the bait at a set depth from the rocks
- Optional: a small sinker to keep the bait down
How to tie it:
- Join the leader to the mainline with a strong line-to-line knot, or to a swivel.
- Tie the hook on the end of the leader with a uni knot or a loop knot so the bait can swim freely.
- For a balloon rig, tie a balloon to the mainline at the depth you want, with light cotton or a rubber band so it breaks free on the strike.
- Hook the bait lightly through the top of the nose or just in front of the dorsal fin, avoiding the spine.
- Keep the bait in the water and alive. A healthy, lively bait gets more strikes.
Common mistakes:
- Hooking the bait too deep, which kills it quickly.
- Too light a leader or drag for kingfish.
- Letting the bait swim into the reef and snag.
Drone and longline rigs
A longline is a backbone line with many short hooked snoods along it. From the beach it’s set out with a kontiki (a small motorised or wind-powered sled) or dropped offshore by a drone. Drones are also used to drop a single surfcasting rig further out than you can cast.
What it’s for: beach fishing for snapper and gurnard on surf beaches and harbours where longlining is allowed.
Rules for longlines are strict. The number of hooks on a longline, where you can set one and how drones and kontiki can be used are all covered by fishing rules. Check the rules for your area before you set a line.
Basic setup:
- Start with a backbone of heavy mono, with a sinker at the seaward end.
- Attach each snood (a short trace with a snelled hook) to the backbone with a clip or crimp, spaced well apart so they don’t tangle.
- Bait the hooks just before setting, starting from the seaward end.
- Clip the seaward end to the kontiki or drone release, and set the line out at right angles to the beach.
- Leave the shore end anchored and marked, and check the line regularly.
Fishing knots
Six knots tie every rig on this page. Each has a step-by-step animated diagram in our fishing knots guide:
- Uni knot: line to a hook, swivel or lure, in any line.
- Snell knot: a straight pull from the hook shank, and two-hook rigs.
- Palomar knot: a strong hook or swivel knot, good in braid.
- Uni-to-uni: braid mainline to a mono or fluorocarbon leader.
- Dropper loop: a loop off the trace for ledger and surfcasting hooks.
- Improved clinch: a quick hook knot in light mono.
Wet the line before you pull any knot tight, pull it down smoothly and trim the tag end close but not flush.
Hooks and release
Recurve and circle hooks tend to hook fish in the corner of the mouth. NIWA’s snapper handling research recommends recurve hooks because they’re less likely to be swallowed, which helps undersized fish survive release. Wind steadily rather than striking hard, and see the snapper page for more on handling and releasing fish.
Once you’ve caught a keeper, see how to bleed and ice your catch and how to fillet a fish.
For what to put on the hook, see our guide to the best bait for NZ fishing.
Questions
What is the best rig for snapper?
In shallow water with berley, a strayline (a lightly weighted or unweighted bait on a long trace) is hard to beat. From the shore or in current, a running sinker rig or a two-hook ledger rig holds the bait near the bottom. Use recurve or circle hooks, which are less likely to be swallowed, so undersized fish survive release.
What is the best surfcasting rig?
A two-hook ledger (paternoster) rig with a grapnel sinker is the standard NZ surfcasting rig. The grapnel holds the bottom in surf, and the dropper loops keep baits just off the sand. Bait clips that hold the hooks against the line during the cast help you cast further and keep baits on.
What is a ledger rig?
A ledger rig, also called a paternoster rig, has the sinker at the bottom of the trace and one or more hooks on short droppers above it. The sinker holds the bottom and the baits sit just above it, which suits fish that feed close to the seabed such as gurnard, tarakihi and snapper.